

Setup your AWS S3 integration
1
Locate Integrations
On the RevenueBase web application, select
Integrations from the side bar.2
Fill in your AWS Account ID
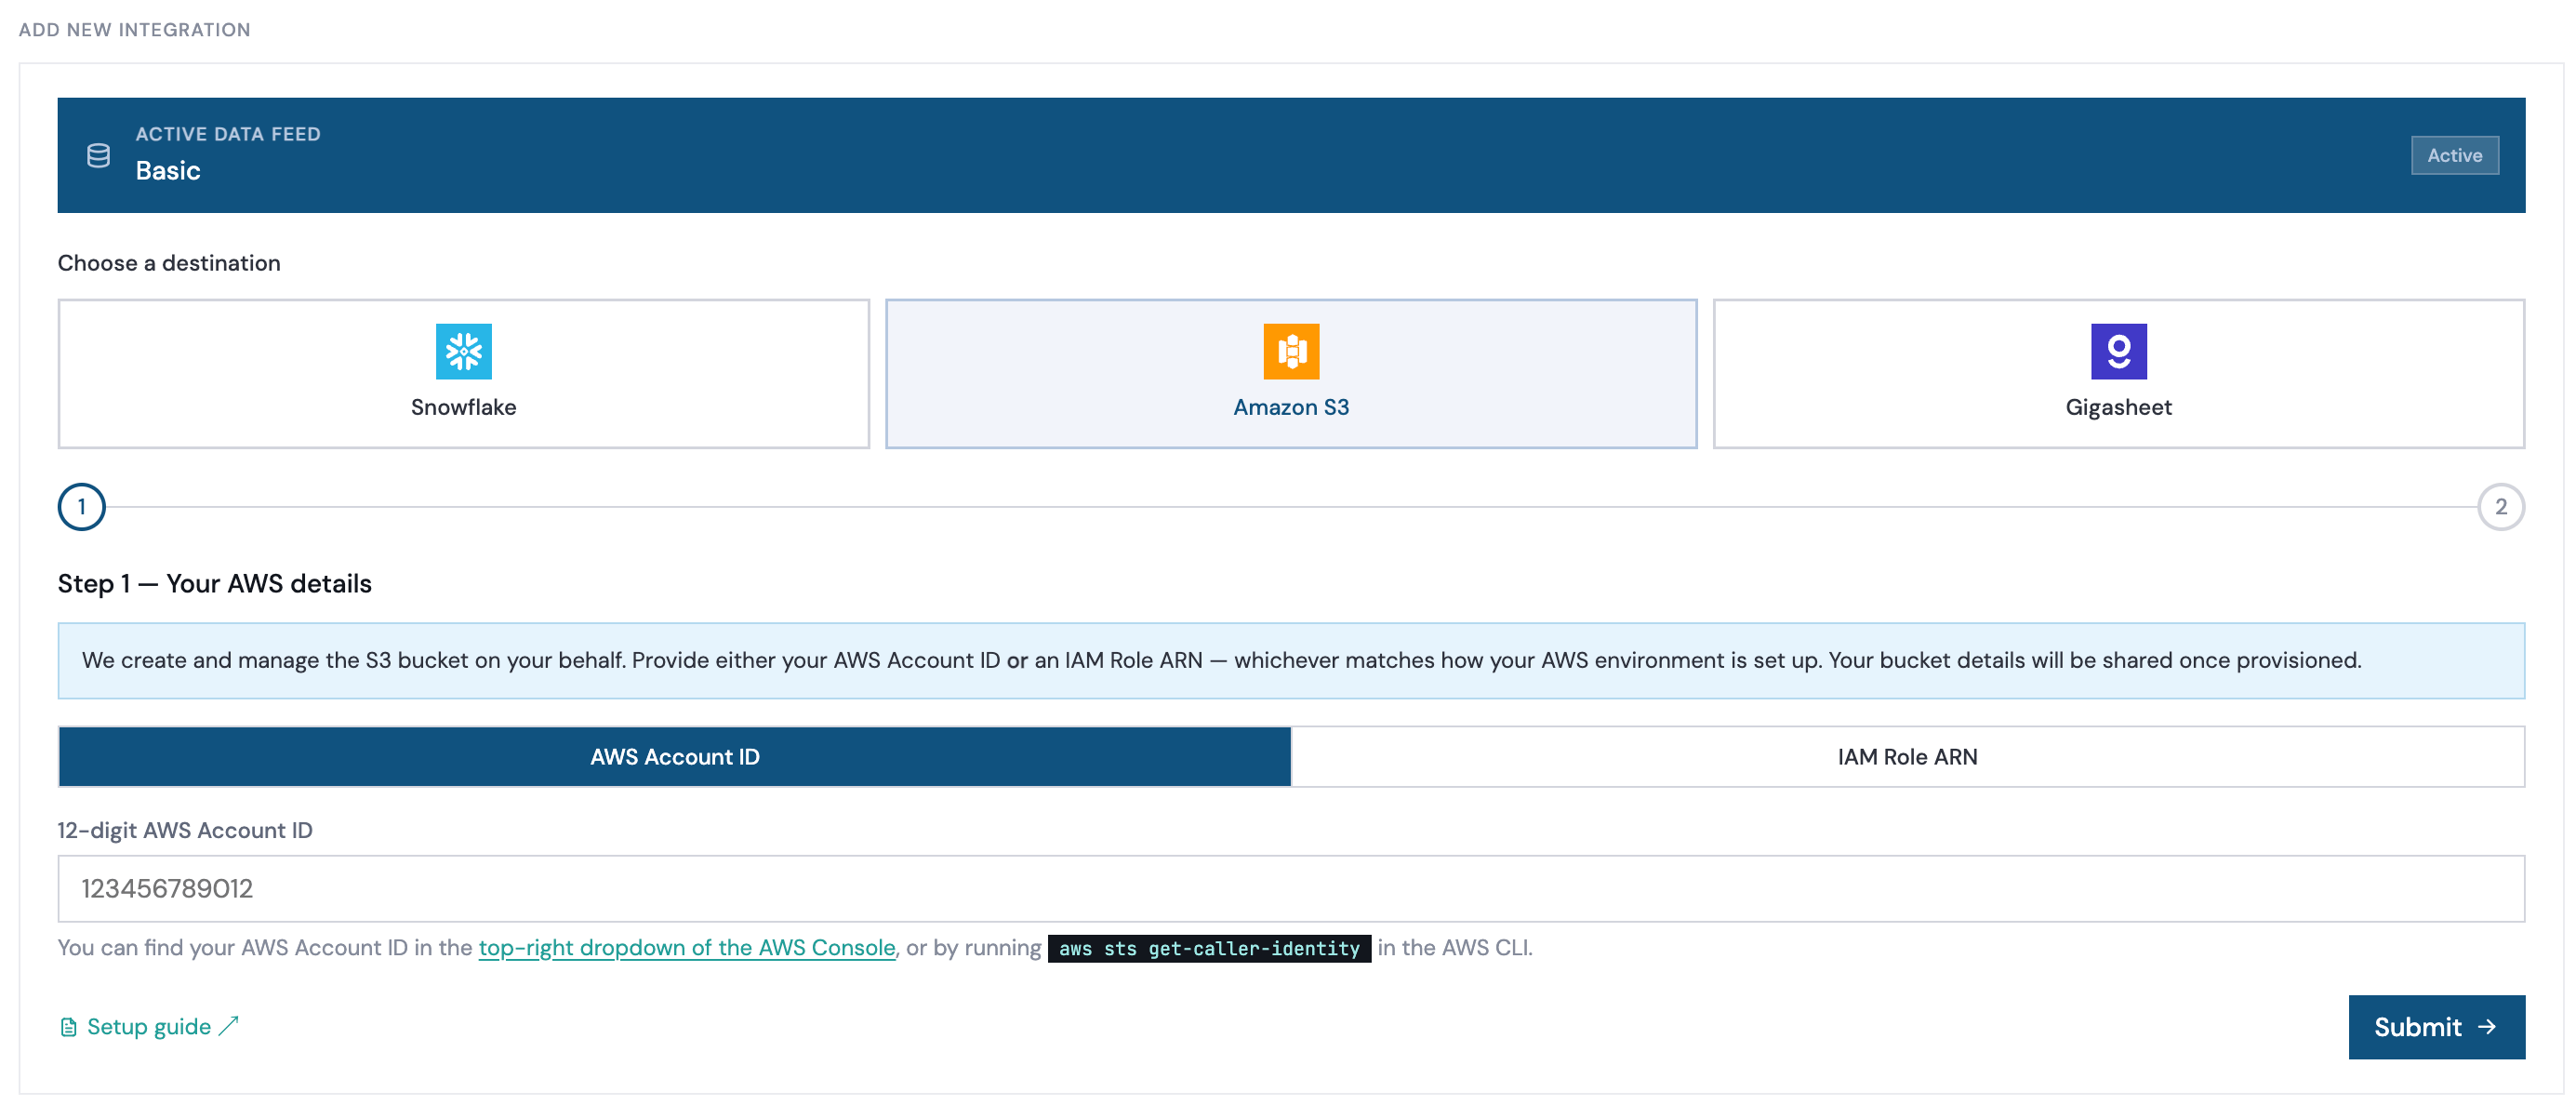
Step 1 — Your AWS details, submit your AWS Account ID.You can find your AWS Account ID in the top-right dropdown of the AWS Console, or by running
aws sts get-caller-identity in the AWS CLI.3
Wait for bucket configuration
Once your AWS Account ID has been submitted, please allow up to 24 hours as we prepare to provision your S3 buckets. Once provisioned, you will receive an email including your bucket ARN, region, access details, and a step-by-step setup guide.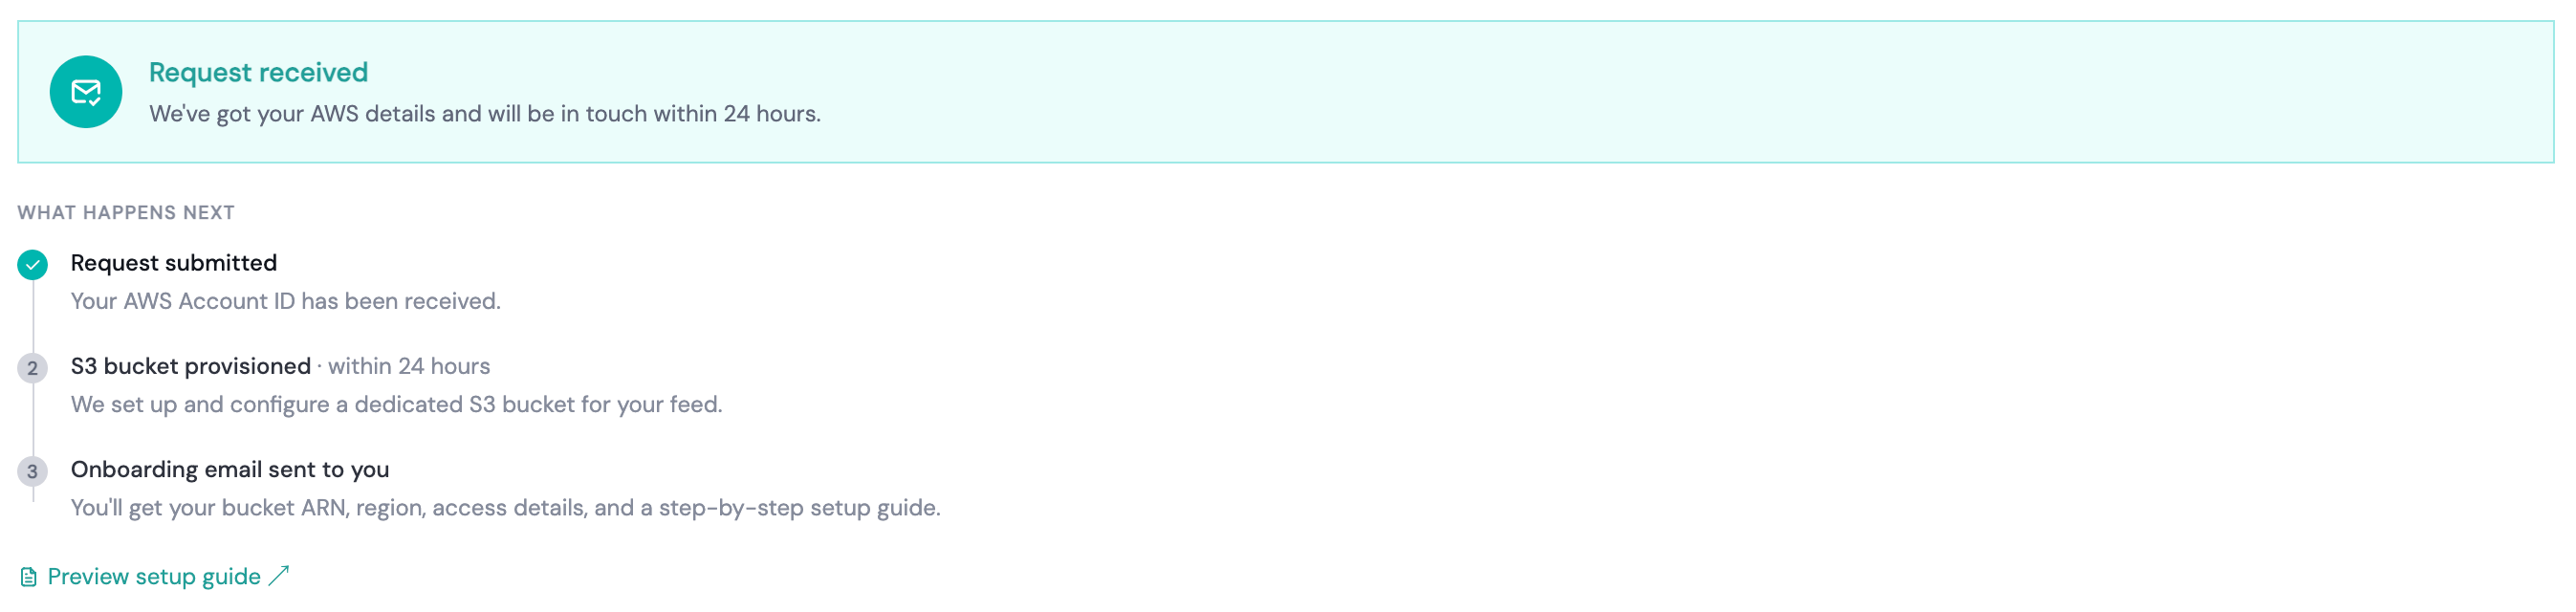
4
Verify access
Once your S3 bucket is provisioned, test your connection using the AWS CLI:You can also access via ARN:
Use the AWS CLI — not the AWS Console web UI — to access RevenueBase buckets. The Console does not support
--request-payer and will return access errors.Bucket structure
Your data lives in date-stamped folders within the S3 bucket. The path structure is:
For more on Parquet, see the official Parquet documentation.
Data is split across multiple files within each delivery folder. This is by design — it enables parallel processing and significantly improves import performance for large datasets.